
RAILS TO BLACK ROCK A blog about the construction of a 5.5mm scale model of a fictitious Ffestiniog Railway branch line to Black Rock Sands via Borth y gest. This was a railway that was proposed in real life but never built. Although a model railway, the model has an equal focus on the distinctive architecture of North Wales.The picture above gives an overall view of the area of the village being modelled.
Wednesday, 20 August 2014
Anyone interested in having a sheet of Ffestiniog carriages etched by Worsley Works should contact Allen Doherty as soon as possible. Allen is producing the enlarged artwork for the following. (The organisation of the sheets as below is not confirmed). A sheet of three carriages including the original artwork of the 009 versions (so drop lights and floors and bogies are included) will be £99. No delivery date has been given yet.

Sunday, 17 August 2014
Today has been spent developing the colour palette and painting method to represent the dressed stone elevation of the cottages. I have worked from the photographs of the building to get the colours as close as possible. Painting is carried out in daylight as this ensures consistency between buildings in the future. I use artists acrylics as they build up a nice texture and seal the Das for longevity.
The whole building was given an initial wash of white and yellow ochre. Then individual stones were painted. It takes about four washes per stone to get the right degree of opacity. The stones within the real wall are made up of lots of different shades. There are flecks of burnt sienna, which although small, effect the overall look considerably. I had thought that the general grey colour would include blue, but after a lot of experimentation I realised that the slate and mortar has a hint of viridian green. To get a natural look a balance has to be struck between accurate painting and the happy accidents that happen from overlaying various washes. Without this, the walls look too pristine and unnatural. This elevation is nearly done but the others are constructed in quite different styles and will need their own solutions. Unusually, apart from some chimney breasts this is the only building on the layout with exposed stone.


Saturday, 16 August 2014
I've taken the plunge and started to render the end cottage. It's always a bit of a nervous moment when you try a new technique for the first time but the result is looking promising. I had spoken with Gordon Gravett about how he had used this method on his French narrow gauge master piece at the York show, and it seemed like the best option for use on Borth y gest's many rendered houses. The colouring is very good and if a base colour was applied first could be left unpainted on some houses. On this cottage it will be painted cream.


Thursday, 14 August 2014
It's a very long time since I scribed a wall, but rather like riding a bike once you've done it, it soon comes back to you! So after a good few hours I have scribed about half the row of houses. Using photographs I have matched the most significant stoned and hopefully captured the individual nature of the walls.


One of the most satisfying things about scribing your own stonework is that it allows corner stones to be modelled really convincingly.

Wednesday, 13 August 2014
The walls have been strengthened with card inserts to prevent warping. These make the walls very strong. Some can be removed later once the Das clay has dried to ease fitting of windows.
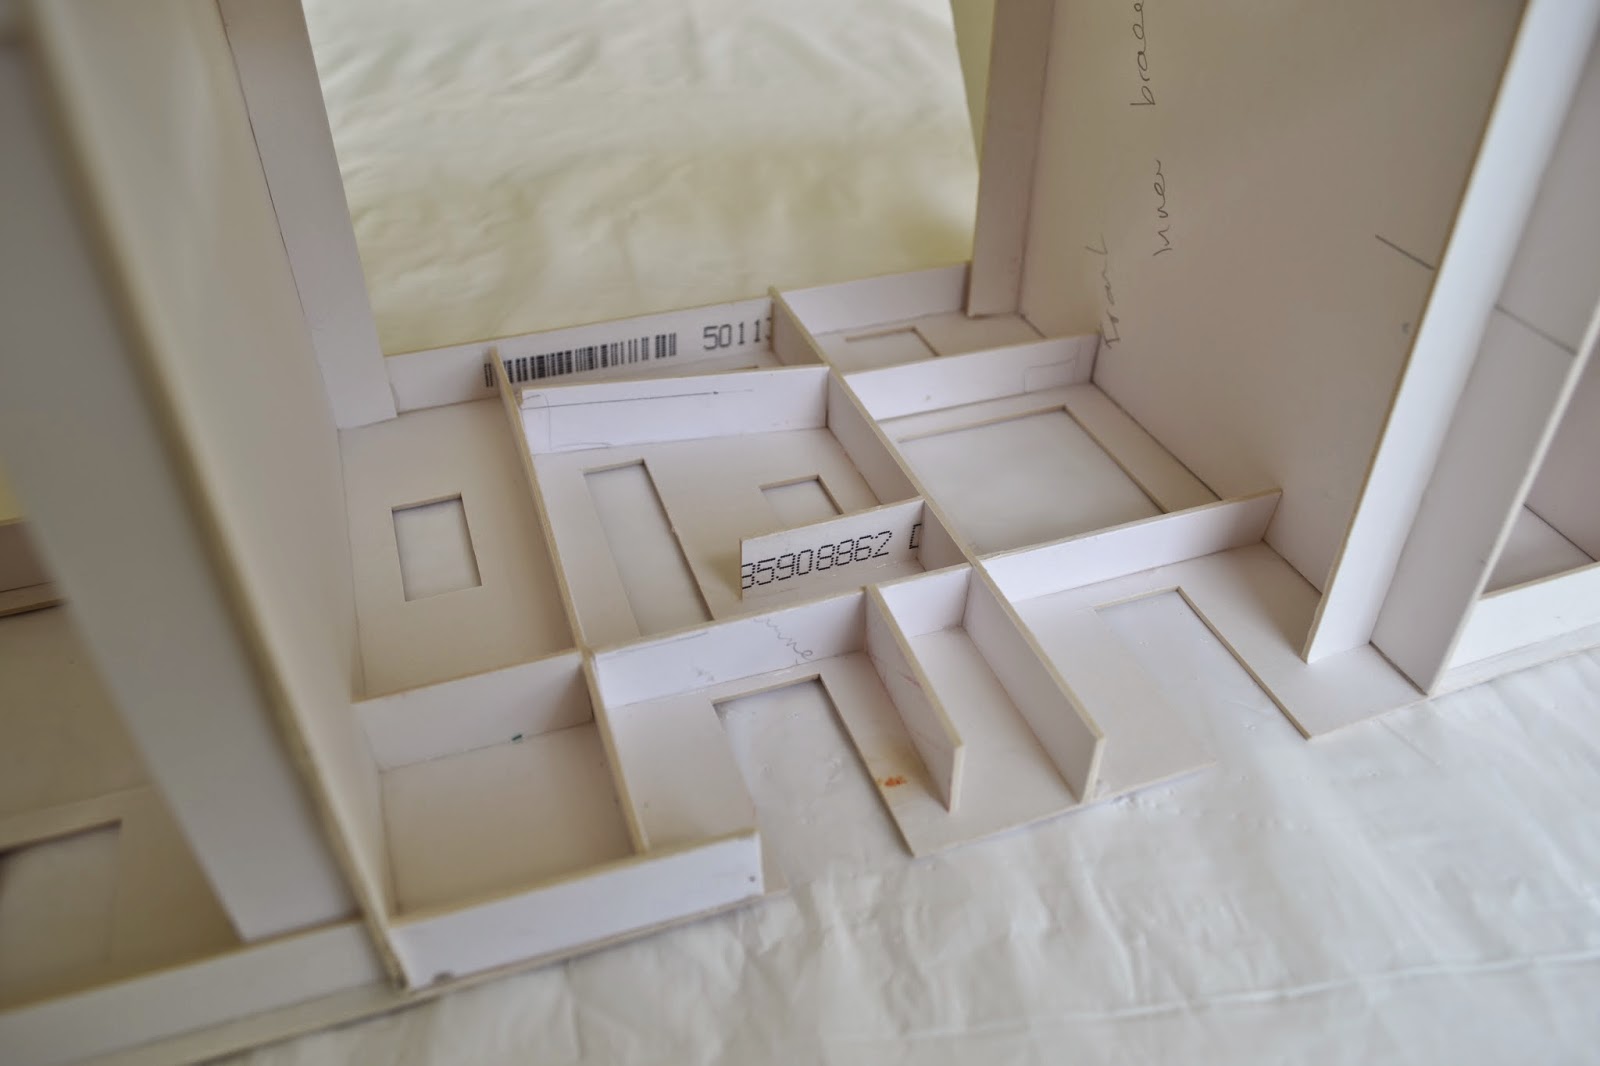


Sheets of Das are pressed onto the walls.


The chimneys are prepared separately and will be fixed in place once the windows and roof is in place. The whole shell is now left to dry thoroughly before carving the stone courses can start.

Monday, 11 August 2014
It just goes to show why research is important. Having remeasured using more recent research the resulting model (the one on the left) is significantly smaller than the one I started two years ago!


The newly found picture at the top of the page showed that the tall thin window was one of a pair and an original feature. I had assumed it had been added more recently. I imagine it is where a stair case links the tree floors. To the right of the tall window there is now a full height extension but this was added after 1937, there was a lower extension before this date. The 1937 Francis Frith photo I am using shows this structure as having a flat roof but it is not clear how it was built. It looks like rendered stone and this is how I am going to model it. It looks like the full height extension was made by building directly on top of the lower extension, I wonder what the building regs were like in those days?

Having taken over a hundred new photos of the village in the last week, I have gone back over the measurements. The original mock up of the houses are slightly too big so I am starting from scratch marking out on a sheet of Daler board. I placed a four foot walking pole in key photos for reference and this has allowed me to calculate levels and heights of walls. Buildings in 5.5 mm scale are pretty big!


Without exact architects drawings there is a lot of drawing and re drawing before the board is ready to cut. There are some complicated bits to resolve such as the eves of the roof as you can see in the top picture, with deep overhangs on the older houses and virtually none on the later ones. The road is only gradually climbing here but the end houses are entered by steps which creates an illusion that the road is steeper than it is. The bay windows and veranda's won't be seen from the front of the layout but are lovely features of houses in this area.
What has become apparent is that the road on the baseboard needs to be lowered by about 15mm which will need some fairly major surgery. The road levels are a compromise as I have omitted a whole row of houses to reduce the size of the model, this means that the gradient of the road has to be steeper than in real life.

This is the middle row of houses which will be shortened on the model.
Subscribe to:
Posts (Atom)